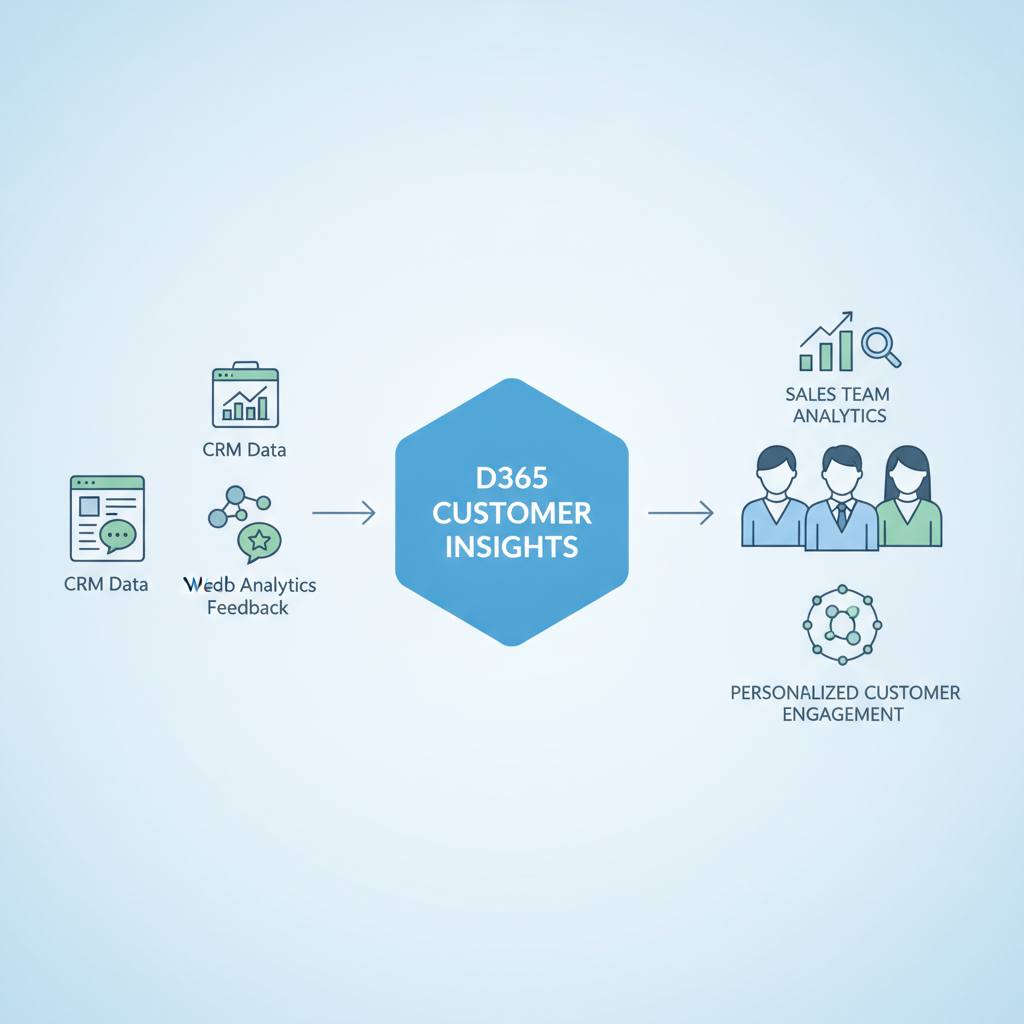
After installing D365 Customer Insights, the initial step involves connecting data from D365 Sales via Dataverse to unify and prepare it for internal use.
Welcome back to WondTech! Today, we're sharing our experience setting up D365 Customer Insights for our own sales team. This is a crucial step to ensure our teams get the best possible insights into their customers.
After the D365 Customer Insights installation was complete, the first thing we did was connect the data. Since we're using D365 Sales data, we pulled it in via Dataverse. It's not as complex as it sounds. We started by clicking «Add data source» and selected Dataverse. Then, we entered a name for our data source and our D365 Sales server address.
The next step was to select the specific tables we needed. For this implementation, we chose five key tables: 'account', 'opportunity', 'contact', 'activitypointer', and 'task'. After that, we confirmed change tracking and set primary keys. The initial data sync took about 40 minutes for us, which is a reasonable time, and you can confirm data loaded correctly in the data view.
Once the data was loaded, we moved on to the unification process. We selected «Unify» from the left menu. Here, we mapped the primary keys for each table. For instance, under «account : CustomerZero», we added rules to configure which columns must match for two records to be considered the same company. Common conditions for Account entity resolution include matching the company name, phone number, email domain, or address.
It's also essential to 'normalize' the name field on the account table. Normalization is an option that determines how text is pre-processed before comparison, which is vital for ensuring accurate matching. The recommended settings we used include converting Unicode to ASCII (to handle full-width/half-width differences), removing symbols like commas and periods, converting text to lowercase (to ignore case differences), removing extra spaces, and identifying and normalizing types such as phone numbers, names, and addresses. These steps ensure high accuracy in linking and unifying customer data.
After the D365 Customer Insights installation was complete, the first thing we did was connect the data. Since we're using D365 Sales data, we pulled it in via Dataverse. It's not as complex as it sounds. We started by clicking «Add data source» and selected Dataverse. Then, we entered a name for our data source and our D365 Sales server address.
The next step was to select the specific tables we needed. For this implementation, we chose five key tables: 'account', 'opportunity', 'contact', 'activitypointer', and 'task'. After that, we confirmed change tracking and set primary keys. The initial data sync took about 40 minutes for us, which is a reasonable time, and you can confirm data loaded correctly in the data view.
Once the data was loaded, we moved on to the unification process. We selected «Unify» from the left menu. Here, we mapped the primary keys for each table. For instance, under «account : CustomerZero», we added rules to configure which columns must match for two records to be considered the same company. Common conditions for Account entity resolution include matching the company name, phone number, email domain, or address.
It's also essential to 'normalize' the name field on the account table. Normalization is an option that determines how text is pre-processed before comparison, which is vital for ensuring accurate matching. The recommended settings we used include converting Unicode to ASCII (to handle full-width/half-width differences), removing symbols like commas and periods, converting text to lowercase (to ignore case differences), removing extra spaces, and identifying and normalizing types such as phone numbers, names, and addresses. These steps ensure high accuracy in linking and unifying customer data.